(Day 14 of 100) A total breakdown of Redux with a simple post delete app
One of the goals for today was to breakdown step by step on how redux is implemented in a simple post delete app. Below is the illustration of how the app works with Redux (central data store).

If you recall much simpler redux implementation on the todo app from day 11 (illustrated below), there were 4 major steps required to implement redux:

#1 Set store with reducer
#2 User requests certain action from the app
#3 Dispatch the action requested by user and pass to reducer. Then, the reducer updates the central state
#4. Component subscribes to changes
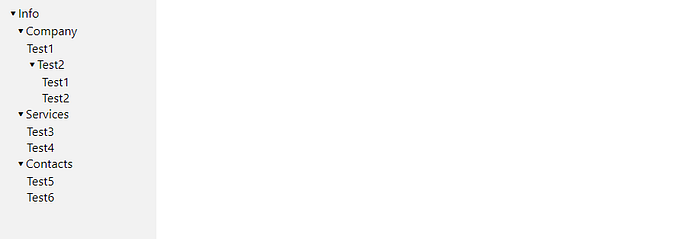
I will try to breakdown how these steps are applied in this post-delete app example. But first, below is the file structure of the application to help you understand how the code from different files interact with each other.

#1 Set store with reducer
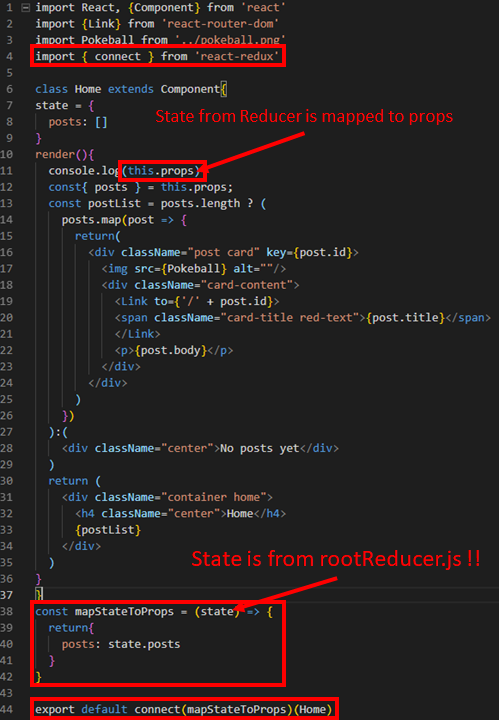
The reducer (from rootReducer.js) that stores all the data and action logic is imported onto the highest order component, index.js. Then, the store is defined in index.js and made available to its sub-components. In order to do so, createStore and Provider elements were imported onto index.js as well from redux and react-redux libraries.


To enable each app component to access data from the central store (Reducer), the Connect element from react-redux library needs to be imported onto each component. Then, the Connect element maps state from the reducer to the props of the component. Note that Connect element works as a HOC, giving the component extra feature from higher order component (i.e mapping state to props). Below is an example of how Home.js component fetches data from reducer, using connect as HOC
On the same token, Post.js component also fetches data from the central store (reducer) using the same method through connect element from react-redux library as illustrated below. What’s slightly different is that it also uses data from its own prop (its http contains the id)to fetch the specific data as illustrated below

#2 User Requests certain action
User clicks delete button on the webpage to delete the post as illustrated below.

#3 Dispatch the action requested by user and pass to reducer. Then, the reducer updates the central state
When the user clicks the delete button, on-click script is triggered from Post.js. Then, On-click fires handleClick, and handleClick fires mapDispatchToProps as deleteProps props is mapped through Connect element to the reducer. Finally, mapDispatchToProps will trigger dispatch, which will pass the action to the reducer to run the action logic and update the state.


#4. Component subscribes to changes
When state is updated, the web automatically re-renders web app based on the changed state. So, nothing is needed to be done as this is automatically handled through React.
That’s all! Thanks!
Current technology stack in mind: React+Redux+Flexbox+GraphQL+Python+Django+PostgreSQL
Total time spent on the challenge: 5 hours
Actual Time focused on the challenge: 3.5 hours
What I did:
- reviewed redux to grasp the concept fully
Plan for next day:
- Complete Studying on Redux
- Start studying on css and flexbox